
This guide provides an overview of how to navigate the CPM Adjustment screen as a user with Adjustment Approver permissions.
Email Notifications:
Users with Adjustment Reviewer permissions will receive the following emails:
- Email indicating when Adjustments are Awaiting approval
- Sent once a day, only if new adjustments have been set to ‘Ready to Approve’ within the previous 24 hours
- Email includes a table of Adjustments sorted by office
- Email includes a link to the list of filtered adjustments
- Email with a list of Auto-approved adjustments
- Sent once a week and includes links to auto-approved adjustments
- If no adjustments have been auto-approved in the previous week, an email is sent indicating that no adjustments have been auto-approved
Navigating the CPM Adjustment Screen:
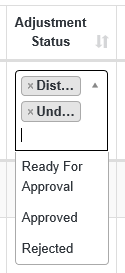
1. Upon navigating to the CPM Adjustments tab on the Adjustments screen, note that the list tab defaults to Adjustments that have an Adjustment Status of Ready for Approval Status.
- To adjust these selections, select the Adjustment Status filter and make desired updates.
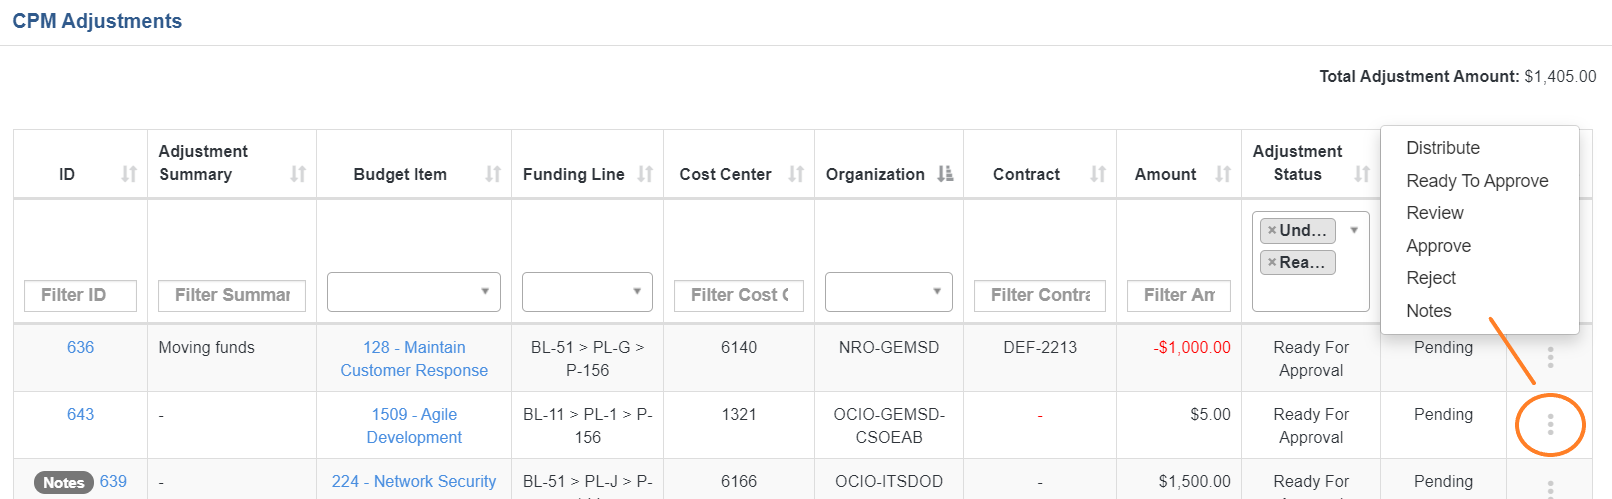
2. Users with Adjustment Approver permissions will have the ability to transition a CPM Adjustment to select Adjustment Statuses via the drop-down options in the Actions column.
- To transition an adjustment to Approve, Reject, Under Review, Distribute, or Ready to Approve status, select the desired value from the Actions drop-down menu.
- Notes:
- Adjustments that have not been Distributed will only have Approve or Reject options until distributions have been saved.
- When the Adjustment Status is updated to 'Ready to Approve' for an Auto-Approved CPM adjustment, the Adjustment Status will automatically be set to 'Approved'.
- Notes:
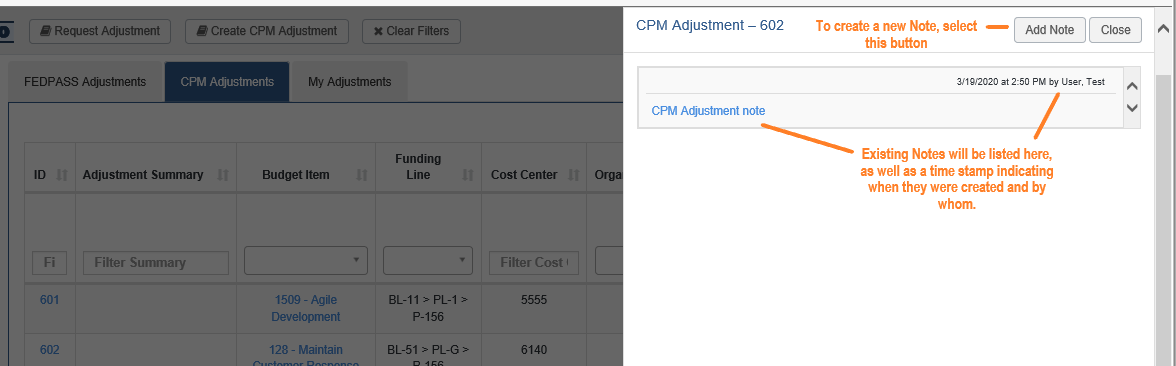
3. Any Adjustment that has existing Notes will be indicated by a Notes badge in the ID column. Notes for the Adjustment can be viewed by hovering on this badge.

Alternatively, to view existing Notes or add a new Note to the adjustment, select the available Notes option from the Actions drop-down.
4. The Total Adjustment Amount for the filtered list of Adjustments is displayed in the top right of the screen and will update based on the applied filters.

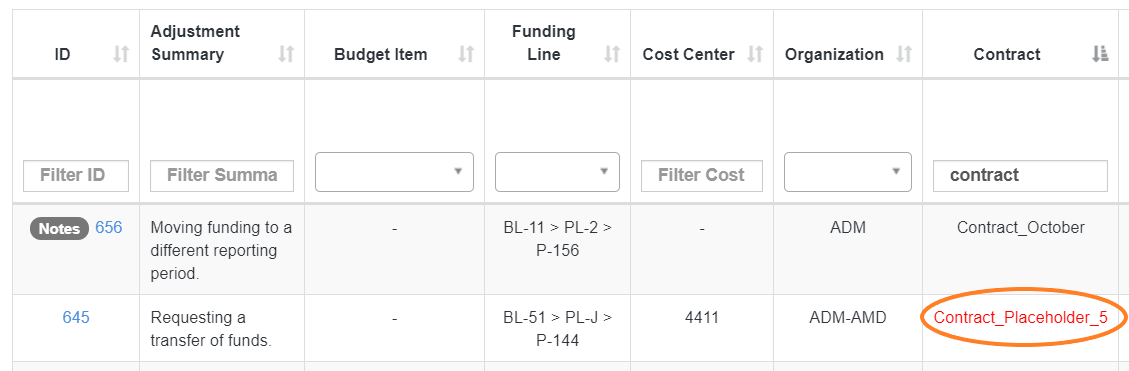
5. Contracts that have not been mapped/do not exist in FEDPASS display in red.
Editing Adjustments:
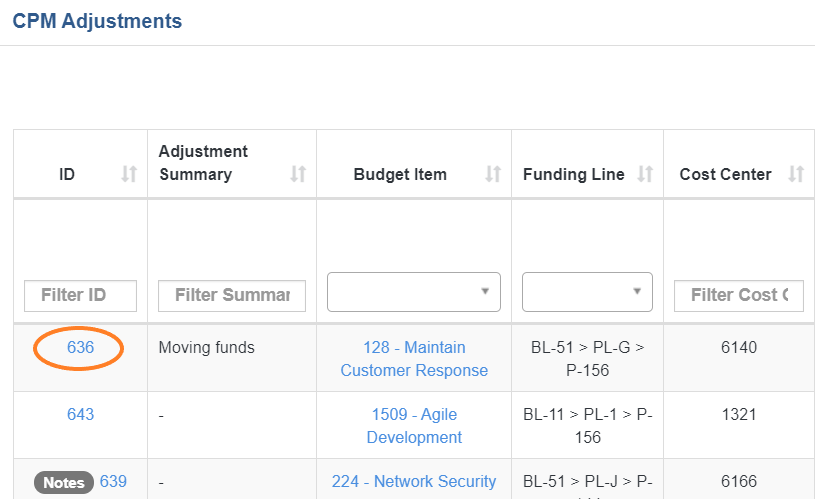
1. To edit a CPM Adjustment, select the ID link for the desired Adjustment from the CPM Adjustments list tab.
2. When the selected CPM Adjustment screen opens, select the Edit Adjustment button at the top of the screen.
3. When all desired Edits have been made, select the Save button at the top of the screen.

*Notes:
- Any field value imported from CPM will be locked for edit.
- Adjustments can be edited until they are processed back in BFS. Once processed in BFS, Adjustments will be locked for Edit.
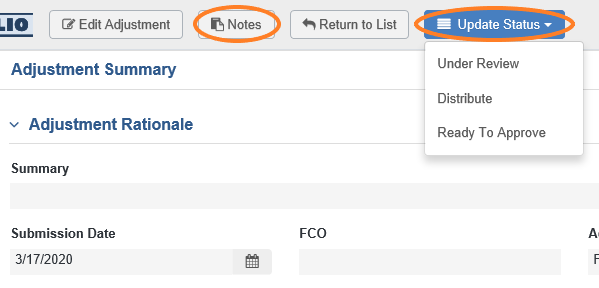
4. User can also access the same functionality to update the Adjustment Status and add Notes as outlined above (in the Actions column on the list screen) via the CPM Adjustment detail page.
Approving/Rejecting Adjustments:
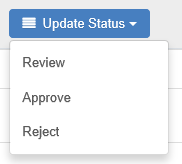
1. To Approve, Reject or Send an Adjustment back to Review, select the appropriate Status from the Actions drop-down on the list page
or
select the Update Status drop-down at the top of the Adjustment detail screen.
- When Approving an Adjustment, no comment is required, but User will be given a pop-up to confirm this approval.
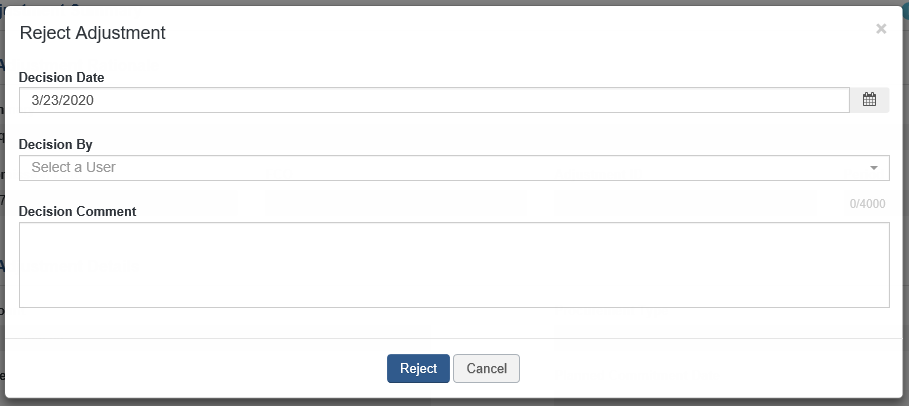
- When Rejecting an Adjustment, User will be provided with a modal to capture Comments concerning why the Adjustment was rejected. Select appropriate User from the Decision By field drop-down (this value will default to the logged-in User) and add Decision Comment as needed. When done, select the Reject button option.
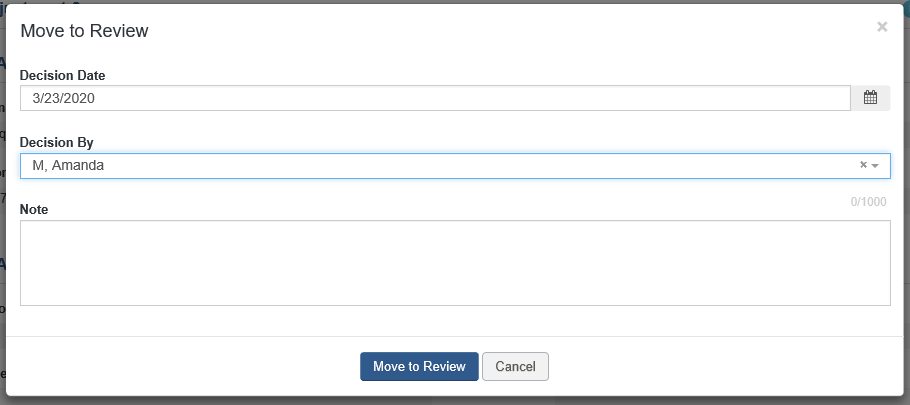
- When moving an Adjustment back to Review, User will be provided with a modal to capture Comments concerning why the Adjustment needs additional Review. Select appropriate User from the Decision By field drop-down and add Note as needed. When done, select the Move to Review button option.
Comments
0 comments
Please sign in to leave a comment.